Parents Help & Support


Real-time communication enhances patient and family experience improving patient satisfaction scores

Extending care beyond the four walls of the hospital

Supports the tenets of family-centered care improving the quality pre- and post-discharge

Aids in breast milk production for mothers and improvement in neonate’s cognitive development

Extended family “virtual access” lowers infection risk

Validate education materials viewed by patient or family members

Bed Management via EHR integration and Single Sign-on for Staff

More effective, easier to access, education to mitigate issue and address questions once families return home
Open a ticket with us by completing the form.
To access AngelEye, you will receive an invitation email to the email address provided on the consent form. From your email, click the button that says ‘Open AngelEye and Set Password.’
The invitation email will look something like this:
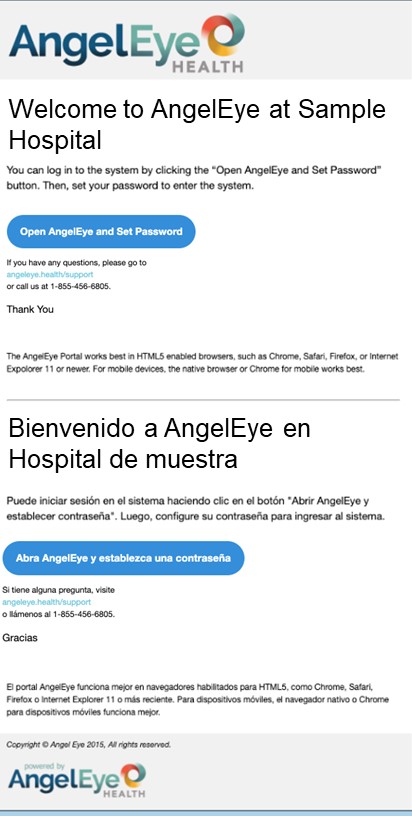
Create/confirm your password, and click ‘Submit.’
Please Note: You must first log in through the link in your invitation email to set up your account. You cannot log in to the AngelEye Mobile App until your set up has been completed.
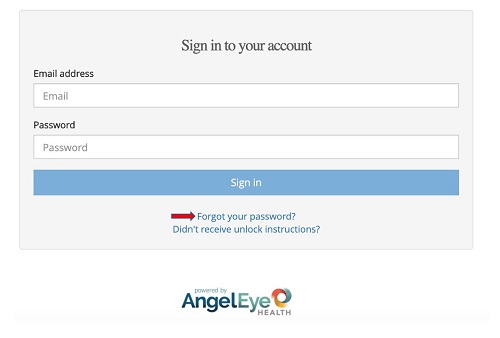
If you are unsure of your password, please use the ‘Forgot your password?’ option on the login screen for assistance. You will then be prompted to enter your email address for a link to reset your password.
To change your account information, click the Gear icon at the top right of the main page.

Select ‘Edit User Information’ from the drop-down menu that appears:
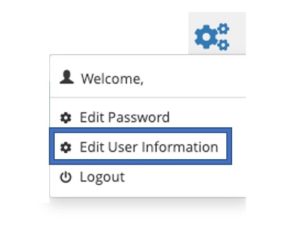
Here you will be able to change your name and email address.
To change your password, click the Gear icon at the top right of the main page.
Select ‘Edit Password’ from the drop-down menu that appears:
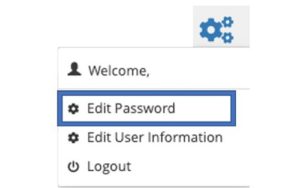
Here you will be able to edit your password.
To log out of your account, click the Gear icon at the top right of the main page.
Then click the ‘Logout’ button in the drop-down menu that appears:
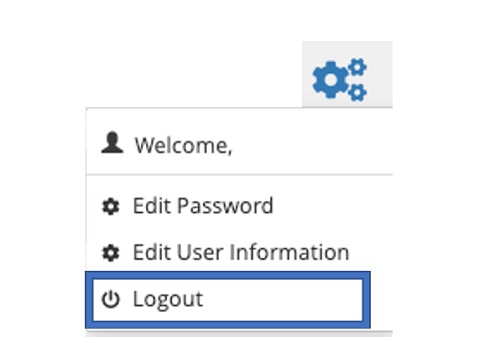
You will then be logged out of your account and directed back to the login page.
Your account is temporarily locked after four unsuccessful login attempts. There are two ways to unlock your account:
If you are unsure of your password, please use the ‘Forgot your password?’ option on the login screen for assistance.
The AngelEye App is available for download on Android devices (via the Google Play Store) or iOS devices (via the App Store). Allow push notifications to receive alerts.
Please Note: You must first log in through the web browser to set up your account. You can not log in to the mobile App unless you have set up your account using the link in your invitation email.
To add a family member, navigate to the ‘My Family Members’ tab and click the ‘Add New Family Member’ button.

Family members can only be added by the administrative account holders. Family members can only view the baby via live stream and participate in the family ‘Chat’; they cannot view educational resources or text, photos, and videos sent from the care team.
To edit a family member’s account information, first go to the ‘My Family Members’ tab. 
Then click the ‘Edit’ button beside the family member you wish to edit.
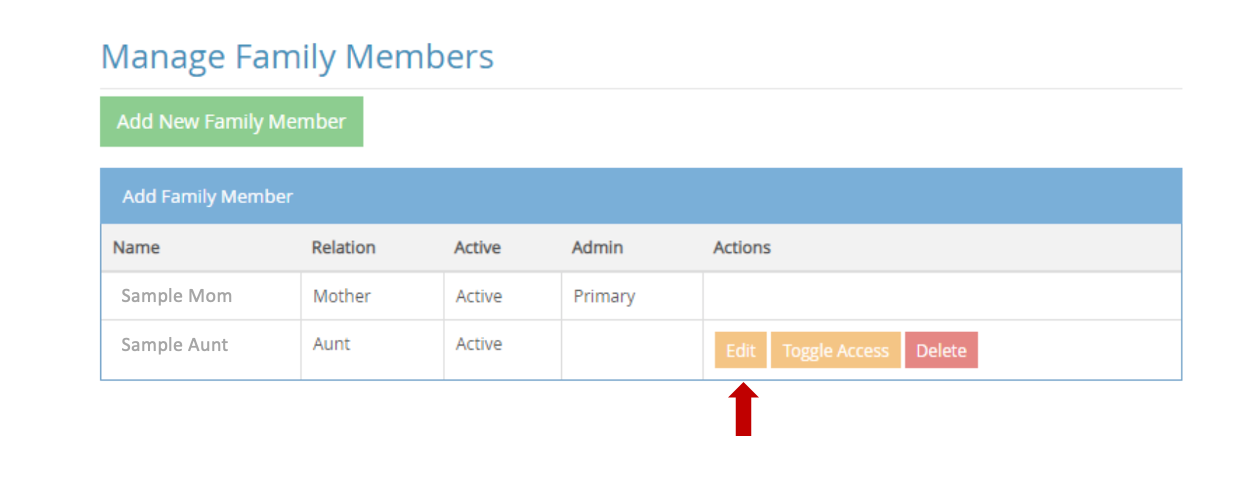
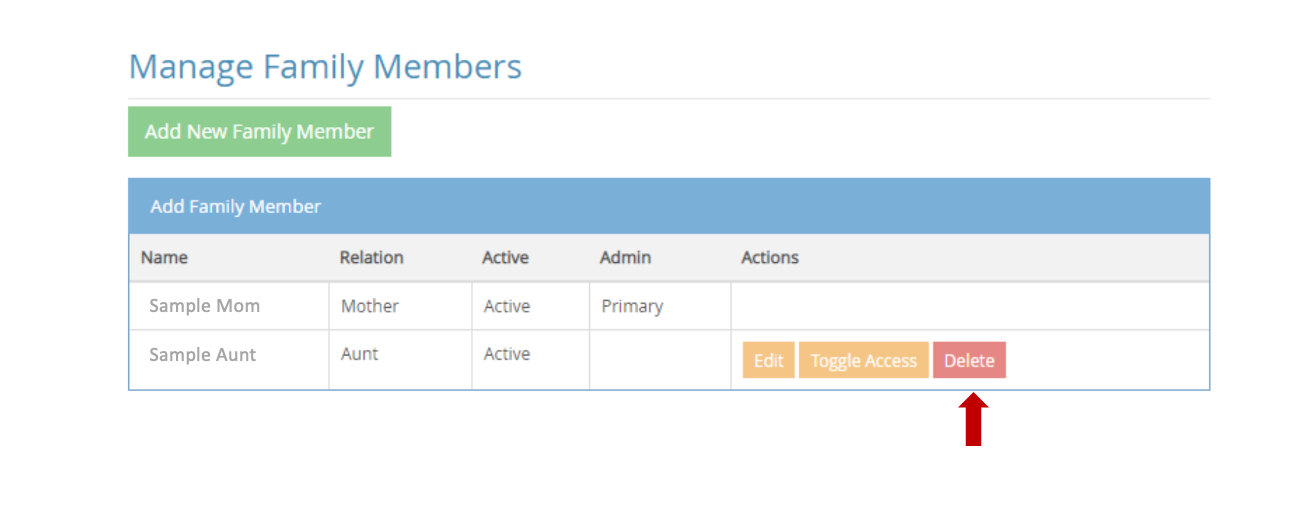
Deleting a family member removes their account from AngelEye. To do this, go to the ‘My Family Members’ tab and click the ‘Delete’ button. Note: You cannot delete a family member that was added by another account administrator.

In the top left corner of the AngelEye site, there is a drop-down menu with the option to ‘Select Language.’ From this drop-down you can select the language of your choice. The navigation buttons, one-way text updates, and photo and video captions will be converted into the language that was selected from the drop-down provided by Google Translate. Google Chrome is the recommended web browser for this feature.
![]()
Family ‘Chat’ allows family members to share information and patient updates within AngelEye. These messages are for your family members only. Hospital staff cannot respond to these messages.
Note: Only parents or legal guardians should contact the unit directly for questions or concerns regarding AngelEye.
No. AngelEye provides one-way communication from the care team to the administrative account holders. The hospital staff does not receive any messages through AngelEye.
This means that the camera has been placed into Privacy Mode. Your baby is likely receiving care, or temporarily out of the bed space. Any calls related to the AngelEye system should only be made in case of emergency, or if the camera has been turned off for more than an hour.
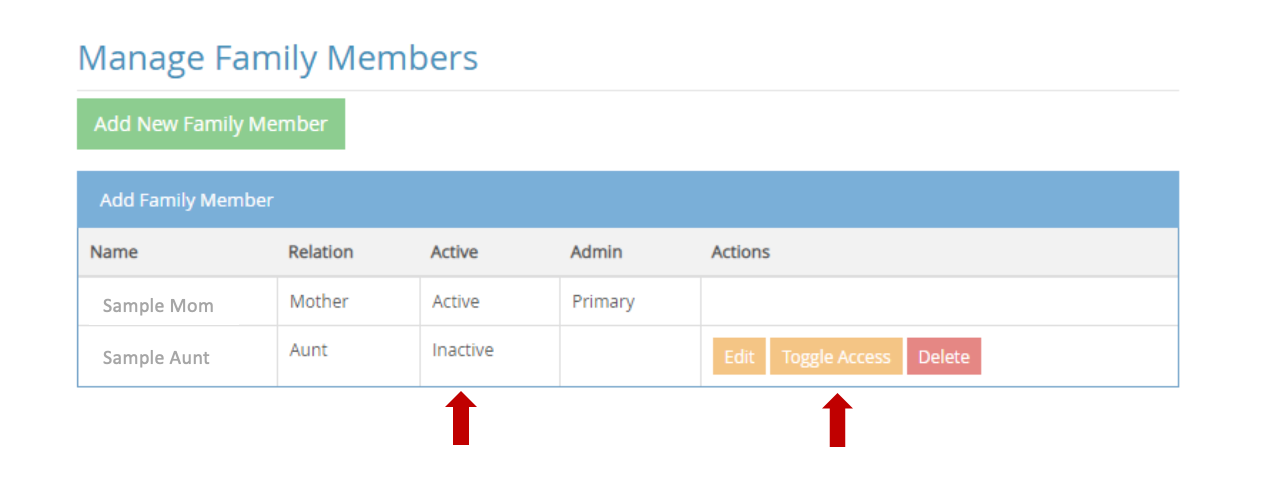
Yes, administrative account holders can pause the live stream for certain family members. You can toggle a family member’s access by going to the ‘My Family Members’ tab and clicking the ‘Toggle Access’ button beside the family member(s) to make them ‘Inactive.’ This will temporarily block their access to the live stream. To resume full access, click the ‘Toggle Access’ button again to return their access to ‘Active.’
Yes! You can add a family member by clicking ‘My Family Members’ on the left side bar. Then click the ‘Add New Family Member’ button. You will then be asked for the family member’s: First Name, Middle Initial, Last Name, Email Address, and Relation. There is no limit to the number of family members that you can add.
If you are logging in from a web browser, you will automatically be directed to the ‘My Patients’ page. Click the blue ‘View’ button to see the live stream.
Please contact the hospital for assistance with camera positioning and/or focusing if this is preventing you from viewing your baby.
From the ‘My Patients’ tab, click ‘View’ next to the patient. Scroll below the camera feed and click on the ‘Clinical Communication’ tab to see photos and videos sent by the care team.

Some photos and videos may be set to expire after 24 hours. If you would like the photos and videos to remain active in your AngelEye account, please discuss this with the hospital staff.
At this time, photos and videos cannot be downloaded from AngelEye. Recording or storing any information from AngelEye is prohibited and can result in termination from the platform.
No. AngelEye provides one-way communication from the care team. The hospital staff does not receive any messages through AngelEye; you cannot respond to the messages, photos, and videos sent by the care team.
Only administrative account holders can see the photos, videos, and messages sent from the care team. Additional family members only have access to the camera live stream and family ‘Chat’.
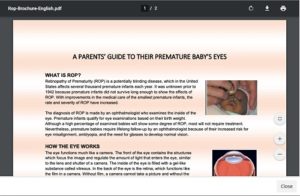
From the ‘My Patients’ tab, click ‘View’ next to the patient. Scroll below the camera feed and click on the ‘Education Materials’ and ‘Discharge Checklist’ tabs to see educational materials.
![]()
![]()
Items listed under the ‘Discharge Checklist’ must be reviewed before the baby is discharged from the hospital. Once you’ve reviewed an item on the ‘Discharge Checklist,’ you will be asked to acknowledge that you understand. Click the ‘I Understand’ button to confirm that you understand.
Items listed under the ‘Educational Materials’ tab are helpful and suggested, but not required for your review.

After reviewing the video or document on the ‘Discharge Checklist,’ you will have the option to select ‘I have a question.’ This will alert the hospital that you need follow-up about this particular item.

NOTE: This feature is temporarily unavailable. We apologize for any inconvenience.
Yes, these materials can be downloaded or printed by clicking the ‘download’ or ‘print’ icons in the top right corner of the screen.
An alert will only be sent to any administrative account holders (parents or guardians) if the AngelEye App is downloaded and push notifications are enabled. If you are not an administrative account holder and/or you don’t have the AngelEye App, you will not get notifications when new educational materials are added.
Only administrative account holders (parents or guardians) can access the materials in the ‘Educational Materials’ and ‘Discharge Checklist’ tabs.
Site reports can be viewed by clicking the ‘Reports’ tab on the far left menu. At the top of the page, enter the date range desired and click ‘Submit.’ It can take up to 15 seconds for the data to fully load, and once fully loaded, this page displays information regarding the total number of members, camera views, site views, operating systems, web browsers, and more.
Data will appear under General, Camera Usage, Resource Usage, and Clinical Communication tabs for the date range indicated. Some of these tabs may not be visible depending on what features your site has activated. If you don’t see the ‘Reports’ tab, you may not have rights to view it.
Discharging a family from the AngelEye system will remove their account and unassign their camera(s). Families are usually discharged when the baby is discharged, or should the situation warrant a discharge (i.e. violation of consent, etc.) To discharge a family, first click the ‘Family Accounts’ tab on the main page in the far left menu. On the list of families, find the family that you wish to discharge and click the ‘Discharge from AngelEye’ button beside their account. (Note: If your hospital has ADT integration, families will automatically be discharged when they are discharged from your electronic health record.)

Before enrolling a family in AngelEye, the primary administrative account holder must be consented by hospital staff. When the hospital has obtained a signed consent form, the family account can be created. To add a new family account, click the ‘Family Accounts’ tab on the main page in the far left menu. Select the ‘Add New Family’ button. Fill out the required fields on the ‘New Family Account page.’ Be sure to put Mother’s Last Name and First Name as the Family Name. Click ‘Submit.’ Next, the patient must be linked to the family account.
To reset a user’s password, click the ‘Site Administration’ tab on the main page in the far left menu. Then click the ‘Users’ button. Now, find the user who has forgotten his/her password and click the ‘Reset Password’ button beside their name. (Note: If using Single Sign On, hospital staff should contact hospital IT support for a password reset.)
The camera feed can be viewed from the ‘Family Accounts’ or ‘Cameras’ tab.
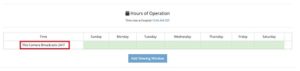
Click the ‘Family Accounts’ tab from the main page. Click on the name of the desired patient from the ‘Patient’ column. Below the camera feed, there will be an ‘Hours of Operation’ section. If you would like to restrict the live feed to certain time frames, click the ‘Add Viewing Window’ button and fill in the desired start and end times. You can remove the viewing windows by clicking the ‘Remove Viewing Window’ button. If the camera is broadcasting 24/7, you will see the statement ‘This camera Broadcasts 24/7’ under the ‘Hours of Operation.’
You can also add viewing hours via the ‘Cameras’ tab. Click the ‘Cameras’ tab on the main page in the far left menu. Then, click the ‘Edit’ button located on the far right for the appropriate camera. Next, click ‘Add Viewing Window,’ which will allow you to fill in start and end times. If you would like to have the camera broadcasting 24/7, remove all viewing times by clicking the ‘Remove Viewing Window’ button.
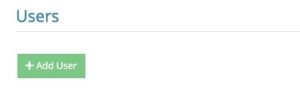
Click the ‘Site Administration’ tab on the main page in the far left menu. Then click the ‘Users’ button near the top right. Click the green ‘+ Add User’ button above the list. Fill in the details and click the ‘Submit’ button. The user will now appear on the user list. Search for the user you just added, and click the ‘Reset Password’ button next to that user’s name. This will send the user an email with login instructions.
Note: If your hospital uses Single Sign On, please contact your hospital’s IT team for assistance adding a user.
User roles determine what permissions staff users are allowed in the AngelEye platform.
Only Super Admin users can change user roles for staff. If you are unable to access a certain page or action, this may be due to your assigned user role.
Note: If your hospital uses Single Sign On, please contact your IT department to modify user roles.
Navigate to the ‘Family Accounts’ tab on the main page in the far left menu. Click ‘Edit’ next to the desired patient.
![]()
The ‘Edit Patient’ box will appear, and the new camera can be selected from the drop-down menu.
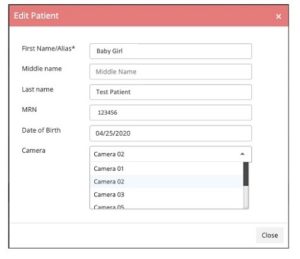
Select the appropriate new camera, and click the ‘Close’ button.
Administrative account holders are typically parents, guardians, or primary care providers. The baby’s mother is almost always the Primary Administrator account holder. Primary and Secondary Administrator accounts have the same level of access. Administrative accounts are the ONLY accounts that can add additional family members, view educational materials, and receive one-way text, photo, and video messages from staff. All administrative users must be properly consented before being designated as an administrative account holder. Administrative family account holders cannot delete each other, or any family members added by the other administrative account holder.

Note: The ‘Give this person Secondary Admin access?’ box must be checked in order to grant the user administrative access.

Only administrative account holders can view Patient Updates, Educational Materials, and photos and videos sent from the care team. Additional relatives can only see the camera live feed and family ‘Chat.’ Please visit the What does administrative access mean for family members? question for more information.
Login procedure varies by facility, depending on what method is deployed. Users are granted access to features and functions within the app based on their job role.
Steps to Login – Manual entry:
Steps to Login – Badge scan (if applicable at your hospital):
Please submit an internal ticket or contact the appropriate hospital department if support is needed. Below are some basic tips and tricks to assist with printer troubleshooting.
If the hospital MT printer is not operating properly, check the following:
Please refer to the manufacturer’s manual for more specific troubleshooting instructions
If the printer is still not printing properly try the following:
The MT home screen contains five core workflows that the user can pick based on the task they are trying to perform. The options on the home screen are the same for both web and mobile users. For more details refer to the tips sheets on the staff training tab of your website.
In the event that the patient and/or feed label cannot be scanned, or the item scanned does not match the patient’s active feed order(s) (if order validation is turned on), the user will not be able to proceed with the feed and must select Manual Entry to manually enter all information from the container to be fed. This workflow requires the user to select a reason for manual entry and obtain a second nurse verification to complete the feed.
When a patient is being discharged from the facility all breast milk belonging to the patient should be scanned with MT to ensure the right milk is going to the right patient/parent and no milk is left behind. Once milk is discharged it will be removed from the hospital inventory and cannot be used in any other workflow in MT.
Depending on the solutions purchased at the facility, you can access all AngelEye features and functions in the AngelEye mobile app, including MilkTracker features such as: viewing pumping reports, and engaging in MilkChat with dedicated hospital staff for lactation and pumping support. If you have multiple patients in the hospital, all can be viewed in one account by simply swiping left and right on the patient’s name at the top of the screen.
Parents who use the AngelEye mobile App to log milk and track pump sessions have access to view your milk inventory both at home and at the hospital as well as view pumping reports.
When you pump breast milk, you will use the MilkTracker pump labels provided to you by the hospital to label the containers that the pumped milk is stored in. You will write the pump date and time on the label, apply it to the bottle, then log details about the pump session into the AngelEye mobile app.
The MilkChat feature (if enabled) allows you to participate in 2-way communications with the hospital lactation staff for the sole purpose of providing lactation support, advice, and resources. The hospital staff response time frame appears at the top of the chat to let you know how quickly they can respond to the messages. Both parents and staff are able to send documents, attachments, pictures and videos to aid in lactation support and education.